
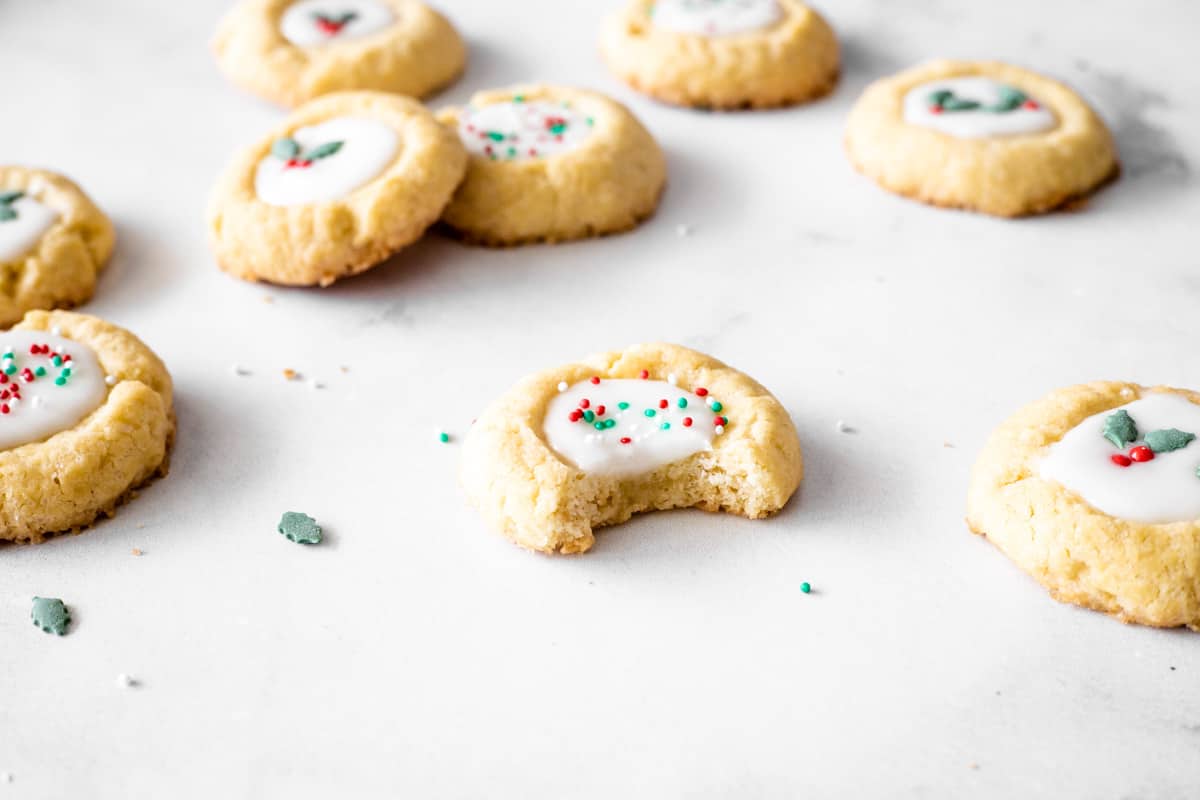
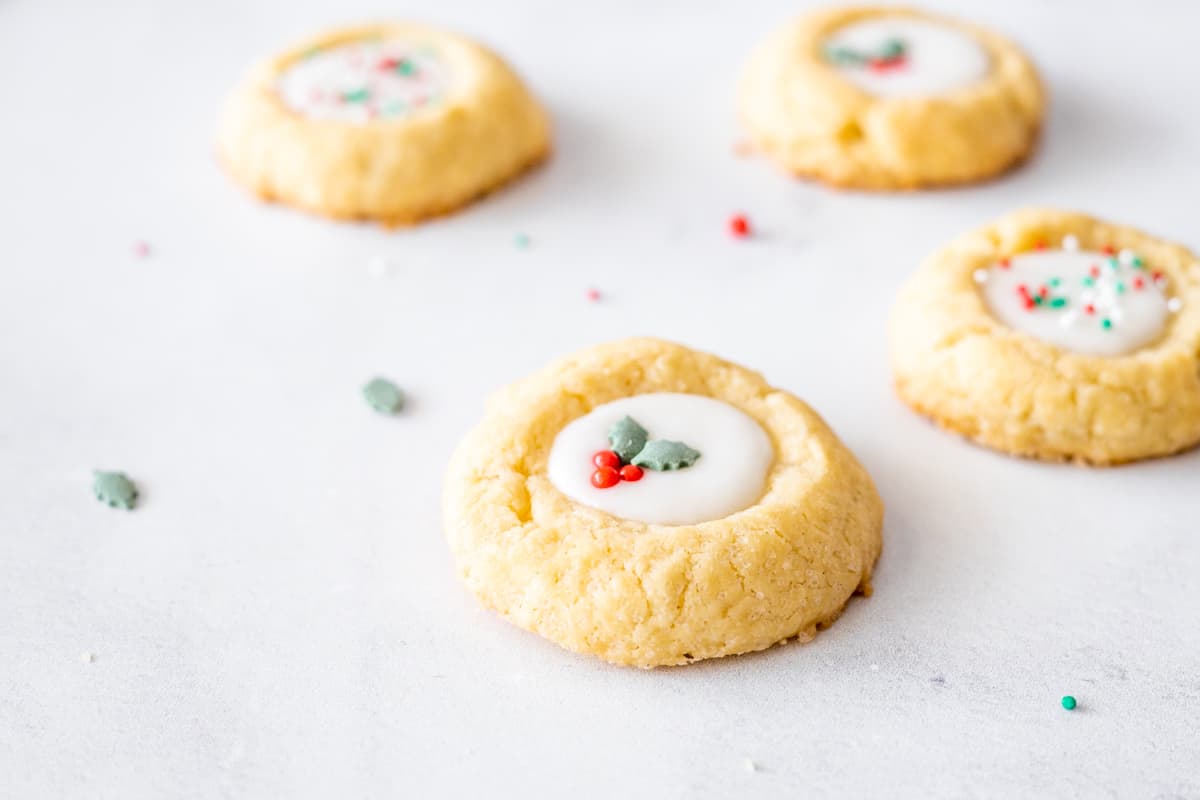
These simple Iced Thumbprint Cookies are filled with homemade Royal Icing and topped with Christmas-themed sprinkles!
Classic thumbprint cookies are an all-time favourite! These Iced Thumbprint Cookies are my festive take on these treats. The recipe is simple - the sugar cookie base is made using 6 basic ingredients. The cookies are then filled with homemade royal icing and can be decorated to your liking.
These are a perfect holiday-themed treat for your guests during the festive season. They can be made ahead so there's no need to fuss over these on the day! You can also prepare the dough ahead and refrigerate overnight.
These cookies are filled with royal icing with meringue powder - so there's no need for raw eggs here! So if you're looking for a great treat to entertain your guests this holiday season, scroll on for the ingredients and recipe!
This recipe can be easily adapted for any occasion or holiday. Simply add your preferred food coloring to the icing and top with your favourite sprinkles!
Ingredients and Variations
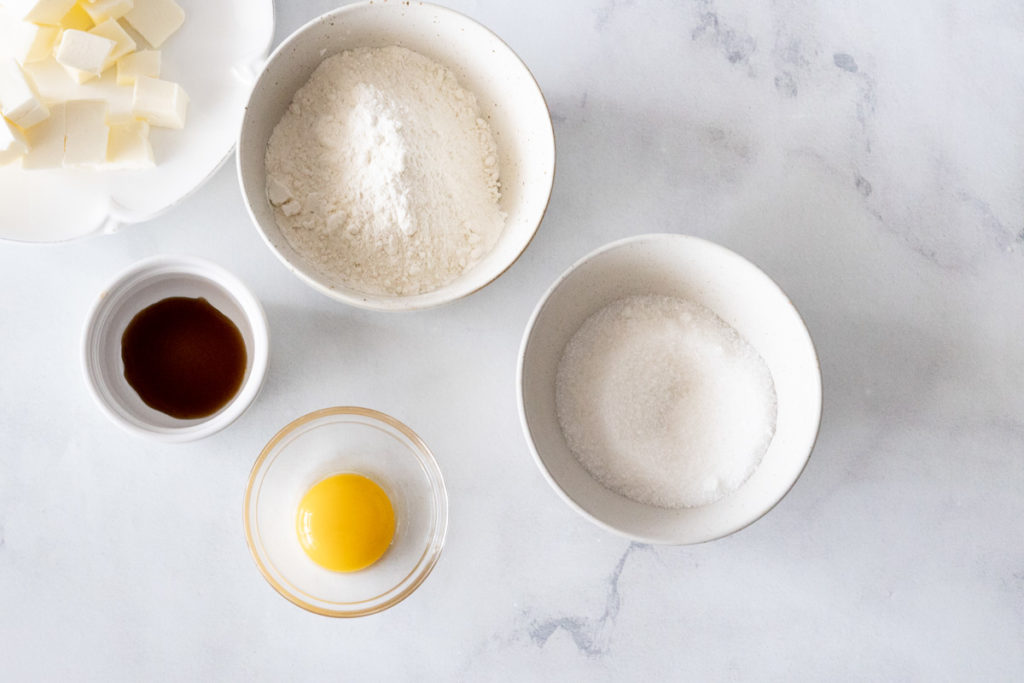
The base of these cookies requires just 6 basic ingredients.
Flour - The recipe calls for AP flour. For accuracy, I recommend the use of digital kitchen scales for weighing the flour.
Butter - You'll need unsalted butter softened to room temperature.
Sugar - Use caster sugar or granulated sugar.
Egg Yolk - Make sure to use room temperature eggs.
Vanilla Extract - Use good quality vanilla extract for the best flavor.
Salt - To balance the sweetness.
For the Royal Icing filling, you will need powdered sugar, meringue powder, and room temperature water. You can decorate these cookies with your favourite sprinkles.
How to Make Iced Thumbprint Cookies
- Make the Cookie Dough
Sift and mix flour and salt and set aside.
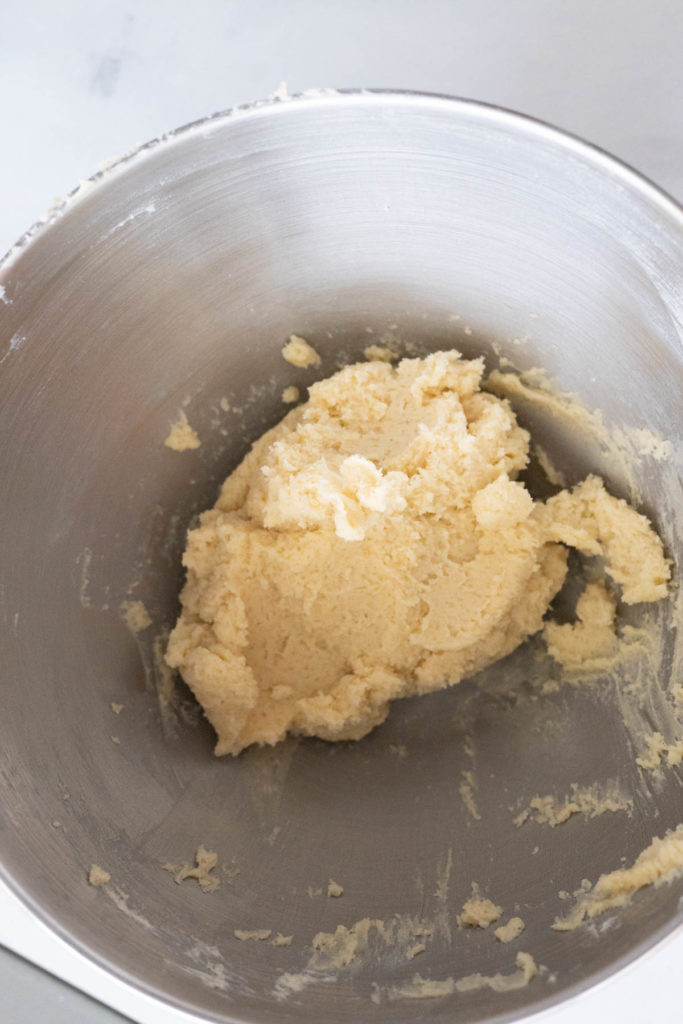
Place butter and sugar in a large mixing bowl of a stand mixer fitted with the paddle attachment. Mix until the mixture is pale and fluffy.
Add the egg yolk and vanilla extract and mix until well combined.
Add the dry ingredients and mix until cookie dough is formed. The dough may take some time to come together and may appear crumbly at first. - Form Dough
Scoop the cookie dough into 12 parts (each weighing around 25-28g) and roll each of these into a ball.
Place each ball on parchment paper and refrigerate for at least 30 minutes (up to overnight). - Shape and Bake
Preheat the oven to 175 degrees Celsius (350F) and line a large baking sheet with parchment paper.
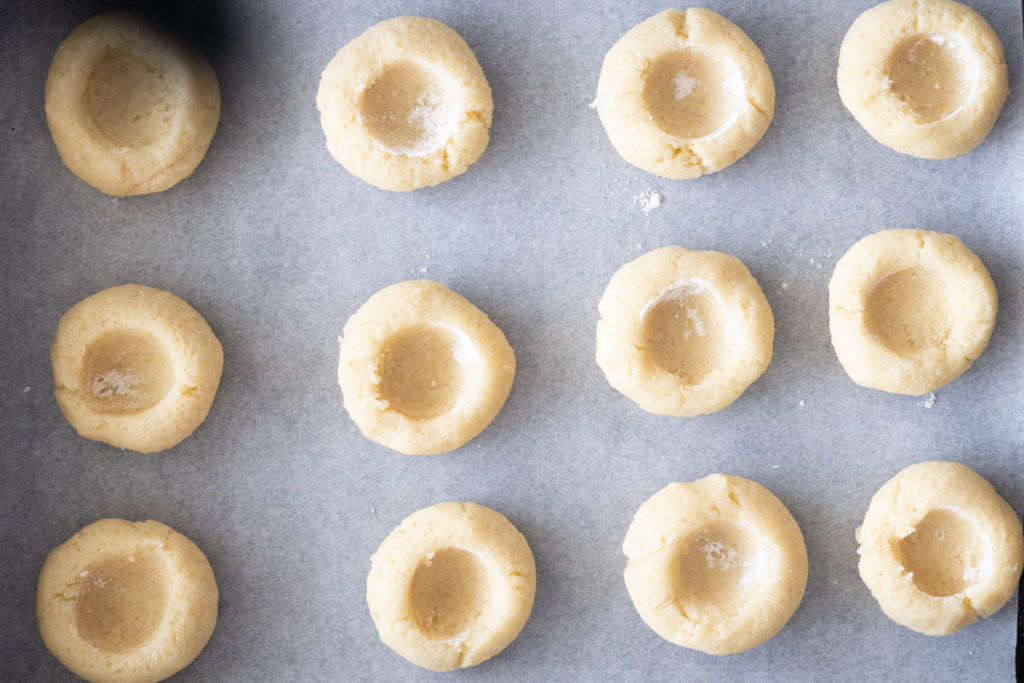
Bring cookies out of the fridge and place each cookie on the baking sheet, leaving a 2-inch space between each one.
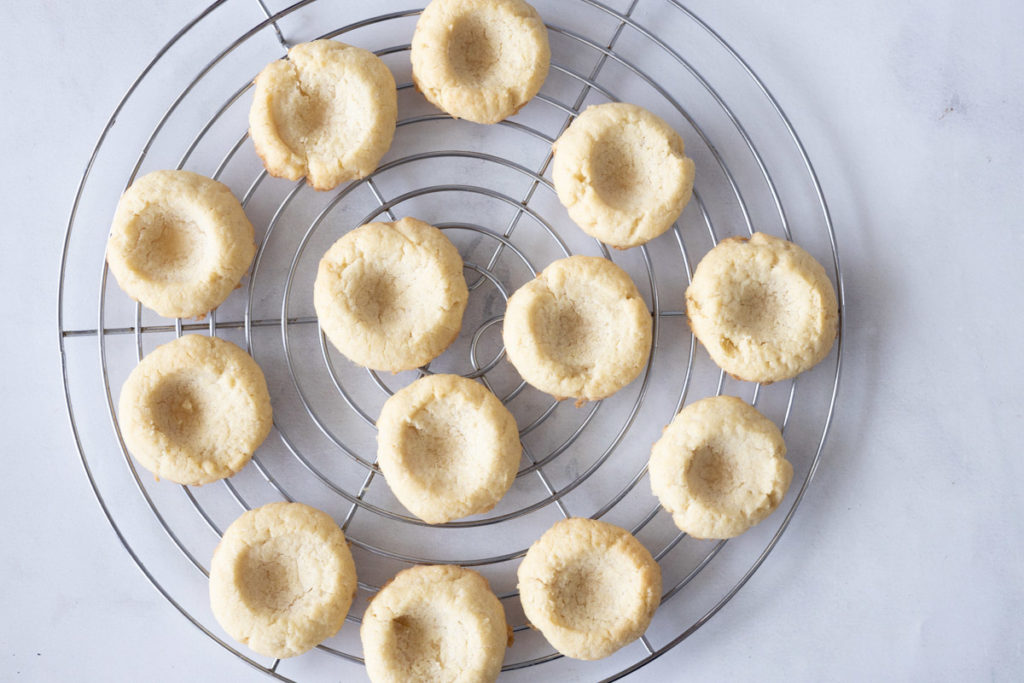
Use your thumb or the back of a rounded teaspoon (such as a measuring teaspoon) to indent each cookie ball at the center.
Bake for 11-14 minutes or until the edges start to turn golden brown. - Cool, Fill and Decorate
Once out of the oven, the cookies will be very soft. Cool on baking sheet for a few minutes, then transfer to a wire rack to cool completely.
To make the royal icing filling, place powdered sugar and meringue powder in a bowl. Stir in 2 tablespoons of water and mix well for 1-2 minutes (you can use a handheld whisk for this step).
Spoon royal icing into each thumbprint space, filling all the way to the top. Allow to set for 3-4 minutes, then add your favourite sprinkles (if using).
Allow the icing to set for 20-30 minutes until it hardens and serve!
How to Store Thumbprint Cookies
Store thumbprint cookies with icing in an airtight container at room temperature. The cookies will keep well for 3-4 days.
You can also freeze these cookies in a freezer-safe container for up to 2 months. Thaw the cookies overnight before serving.
Tips for the Best Thumbprint Cookies
- Use a digital weighing scale to accurately measure your ingredients.
- To prevent the dough from spreading, make sure to chill the dough for at least 30 minutes before baking these cookies! The dough can also be made ahead and chilled overnight.
- Use room temperature ingredients (butter, egg yolk, and flour) - this will prevent the batter from curdling.
- If you're making these cookies in two (or more) batches, make sure to let the baking sheet cool down completely before placing and baking the next batch. This will prevent the cookies from spreading.
Iced Thumbprint Cookies
Ingredients
Thumbprint Cookies
- 125 g all-purpose flour (1 cup)
- ¼ tsp. salt
- 112 g unsalted butter softened (½ cup)
- 70 g granulated sugar or caster sugar (⅓ cup)
- 1 tsp. vanilla extract
- 1 egg yolk
Royal Icing Filling
- 80 g powdered sugar (⅔ cup)
- 2 tsp. meringue powder
- 2 tbsp. water room temperature
- 2 tbsp. sprinkles optional
Instructions
- Sift and mix flour and salt in a medium sized bowl and set aside.
- Place butter and sugar in a large mixing bowl of a stand mixer fitted with the paddle attachment. Mix on medium speed until mixture is pale and fluffy. Use a spatula to scrape any ingredients from the side of the bowl.
- Add egg yolk and vanilla extract and mix for 1-2 minutes.
- Add dry ingredients and mix until cookie dough is formed.
- Divide cookie dough into 12 parts. Rolls each cookie dough into a ball. Transfer to a plate with parchment paper and chill dough for at least 30 minutes (up to overnight).
- Preheat oven to 175°C (350F) and line a large baking sheet with parchment paper.
- Place each cookie ball on the baking sheet, leaving a 2-inch space between each one. Use your thumb or the round back of a measuring spoon to make an indentation in the center of each cookie ball.
- Bake for 11-14 minutes or until the edges start to turn golden brown. Cookies will be very soft when out of the oven.
- Allow to cool for a few minutes on the baking sheet, then transfer to a wire rack to cool completely.
- To make the royal icing: Place powdered sugar and meringue powder in a medium sized bowl. Stir in 2 tbsp. of room temperature water and mix for 1-2 minutes (you can use a handheld mixer or a stand mixer with the whisk attachment for this step).
- Spoon icing into each thumbprint cookie, filling all the way to the top. Leave to set for 3-4 minutes, then top with your favourite sprinkles. Leave cookies to set for 20-30 minutes before serving.
Kimmy
These look delicious and so festive! I just have one question: I understand that royal icing dries to be quite hard. How does that work after these cookies have set for a day? Does the filling get hard or stay more fluid like it shows in your photo? Im dying to make these but I have sensitive teeth and I cant take cracking through a hunk of hard royal icing lol
Lara
Thanks for your comment Kimmy!
The icing will harden slightly as it sets but I would say it's more semi-solid than hard (as long as you store the cookies at room temperature, the icing doesn't harden to the point of breaking your teeth - I know what you mean!). However, I would still be careful since very sweet foods (such as this royal icing) may still be a problem with sensitive teeth 🙁